
Chatbot developed using RAG enabled chat endpoint from Cohere AI
My findings on how to use the RAG enabled chat endpoint from cohere and to use it to build chat applications, with memory and context

I am a computer engineer and Designer. I design code develop create take photos and Travel.
As a computer engineer as well as a designer, I enjoy using my obsessive attention to detail, my unequivocal love for making things that change the world. That's why I like to make things that make a difference.
I'm a builder at heart. I love reading documentation and getting my hands dirty to create something new. So, when I heard about Cohere's new chat endpoint with built-in RAG functionality, I was excited to give it a try.
Cohere AI recently dropped a new chat endpoint with built-in RAG functionality, co.chat. This means that building powerful and informative RAG chatbots is now easier and more efficient than ever before!
Previously I've built RAG chatbots using Cohere AI, LangChain, Qdrant, and Streamlit. If you need you can check it out here. It was a fun and rewarding challenge, but it was also a bit complex. With the new chat endpoint, Cohere has made it much easier to build RAG chatbots.
Setting up the environment and variables
In order to start, first we need to install dependencies and set up our environment.
Installing dependencies
Initialize your virtualenv (your choice)
Install all the necessary dependencies
pip install -r requirements.txt
After installing requirements:
Getting API key from Cohere.
After completing the installs, it's time to set up the api-key.
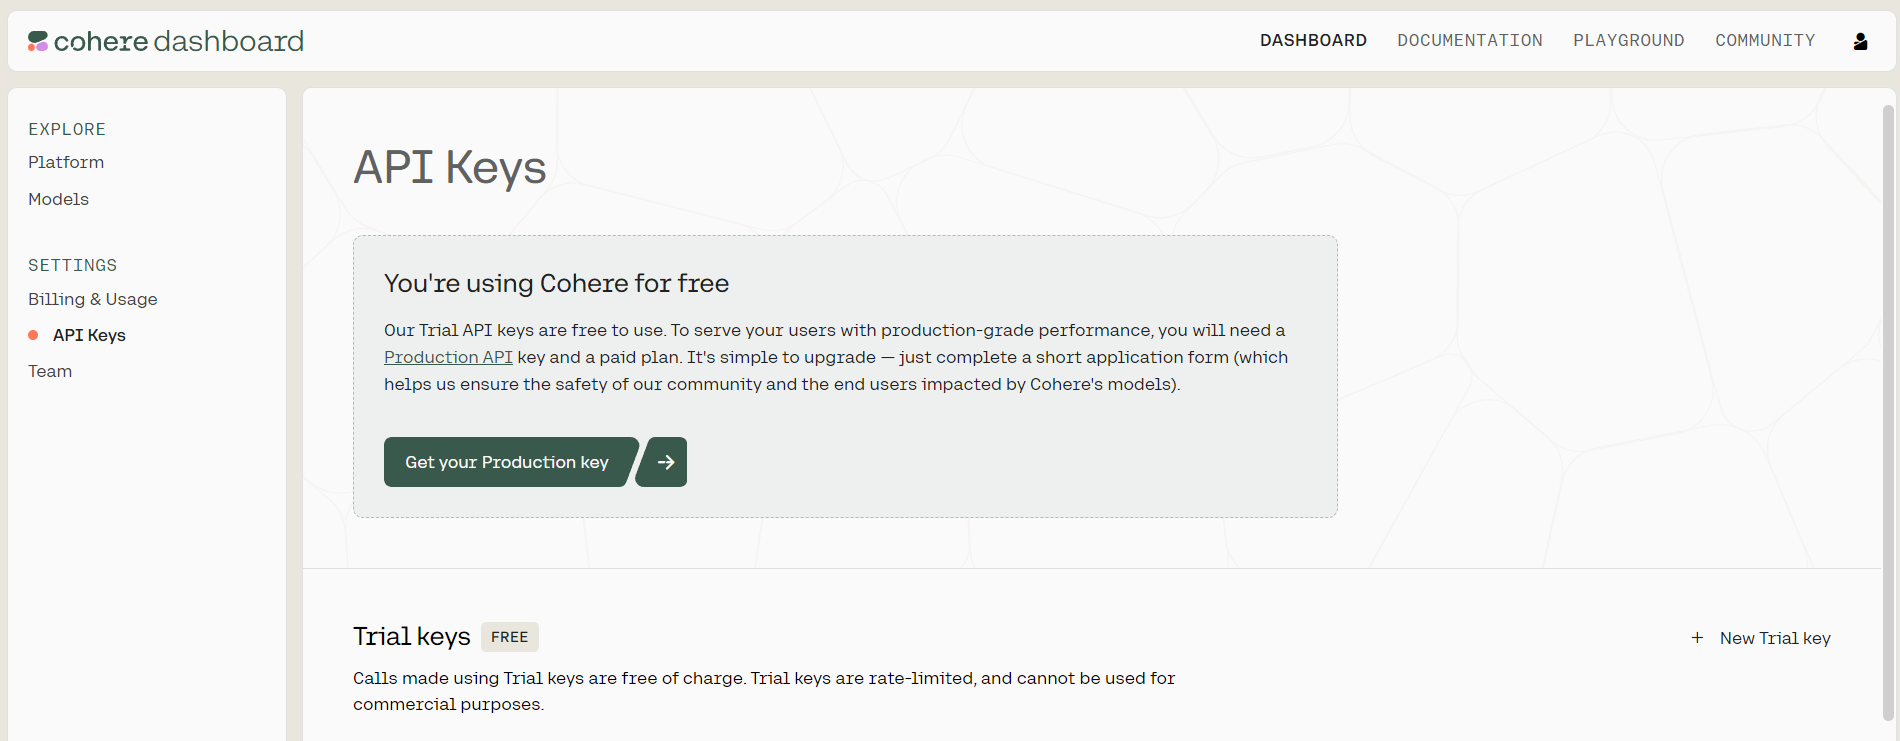
Visit cohere and create your account.
Then head to the dashboard to create your free trial API key.
create a
.streamlitfolder and asecrets.tomlfile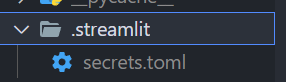
Add your API key to
secrets.tomlfile
Setting a config file for Streamlit
we need to enable static serving in Streamlit
For that create a
config.tomlfile in.streamlitfolder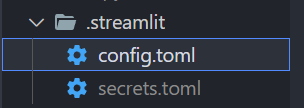
add these
    [server]
    enableStaticServing = true
In this file, you can also set the theme for your Streamlit app, else go for the default theme.
Setting our Python file ( Main.py )
For now, follow along. Add these lines of code. This is self-explanatory.
import os
import streamlit as st
import cohere
#setting up our cohere client
co = cohere.Client(st.secrets["COHERE_API_KEY"])
# Streamlit header
st.set_page_config(page_title="Co:Chat - An LLM-powered chat bot")
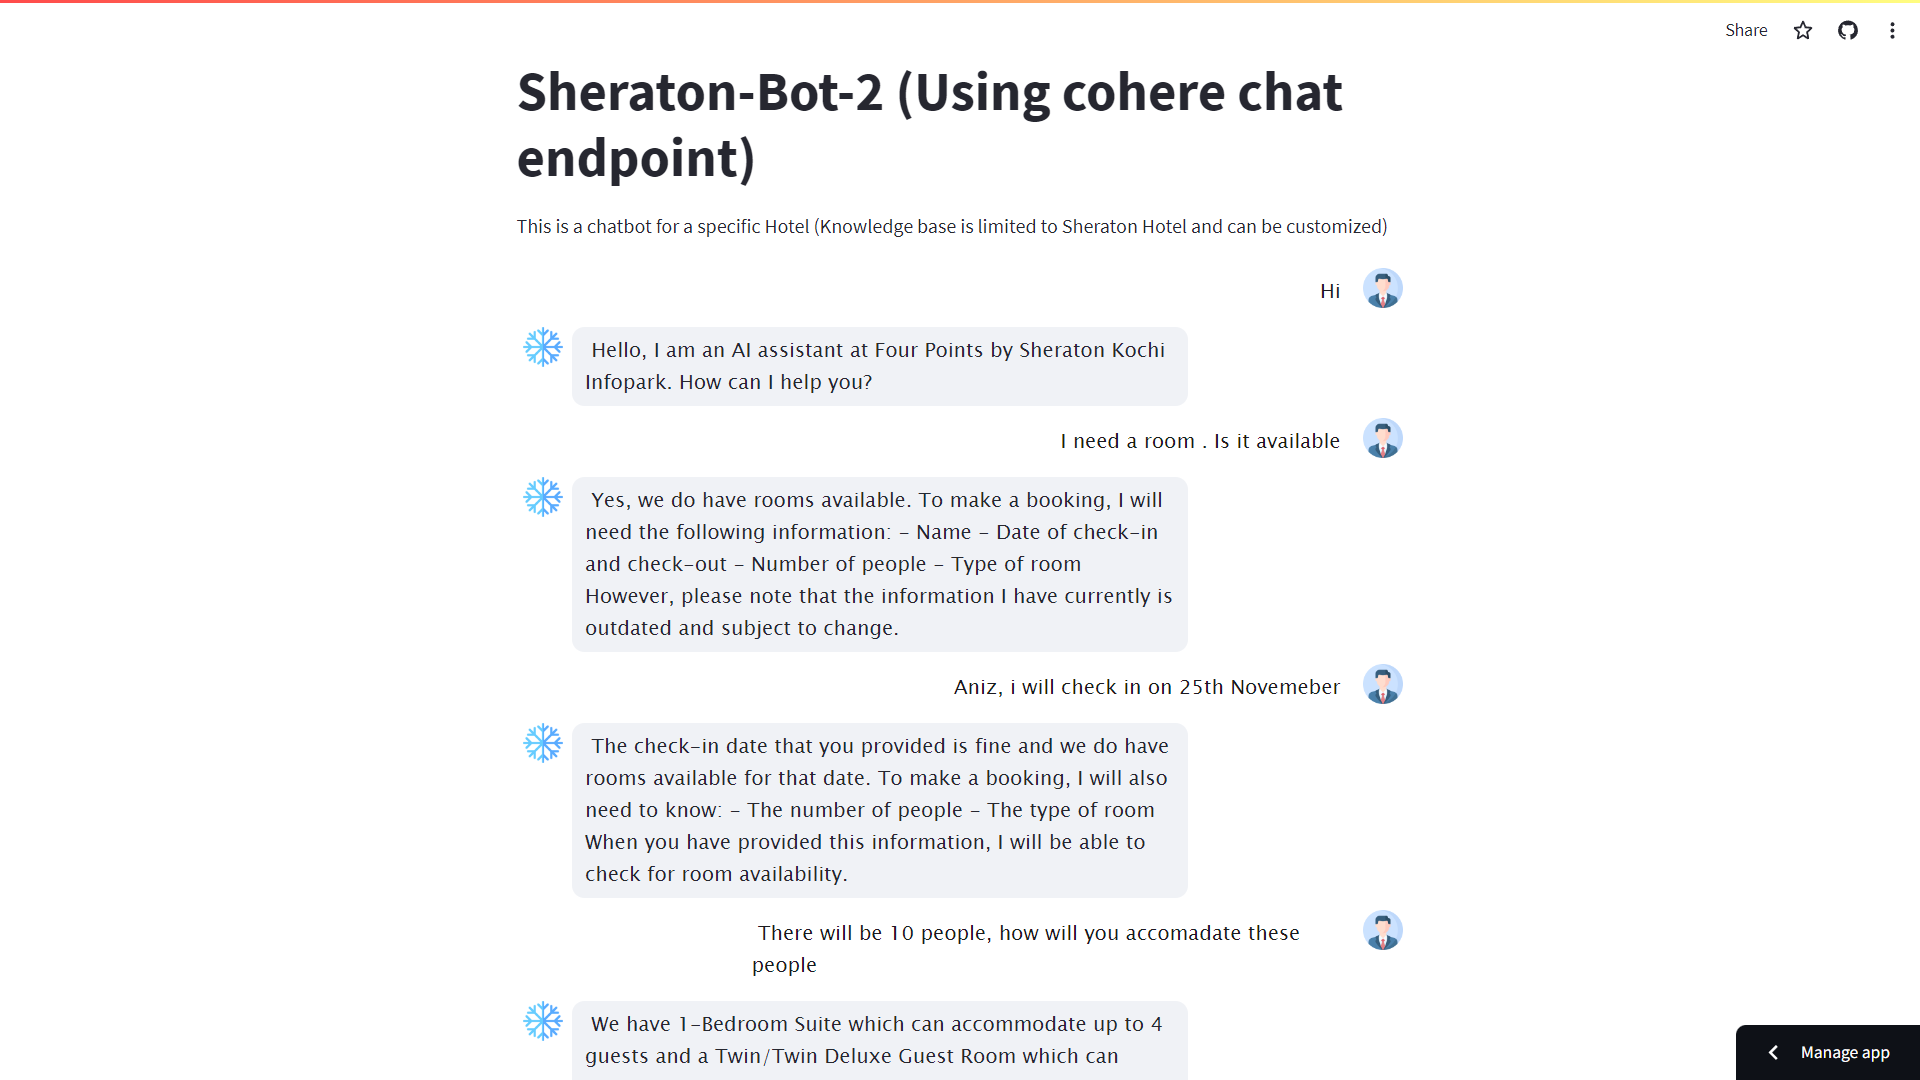
st.title("Sheraton-Bot (Using cohere chat endpoint) ")
st.write("This is a chatbot for a specific Hotel (Knowledge base is limited to Sheraton Hotel and can be customized)")
- You can also use os.environ
co = cohere.Client(os.environ["COHERE_API_KEY"])
Setting up our custom knowledge base for RAG
In this project, I had only used a short data for simplicity. Here is the format you should follow when creating your knowledge base, without using any database stores.
docs =  [
    {
      "title": "Four Points by Sheraton Kochi Infopark",
      "snippet": "Four Points by Sheraton Kochi Infopark, located in Kakkanad, Kochi, Kerala, offers a luxurious stay with spacious rooms and exceptional amenities. Experience modern elegance and convenience in the heart of the city. Book now and explore nearby attractions, museums, and shopping districts."
    },
    ...
  ]
Findings:
If you don't have a large amount of data and want it to be done fast, then this is the way.
I am creating a small knowledge base without embeddings and vector stores
Can use any name as per your wish.
This is a much more convenient and easy-to-use method, but isn't dynamic and needs to replenish the data. (you can use any DB. It's up to you.)
Setting up our chat functionalities
After successfully setting up our environment and creating our custom knowledge base, we can move to the next part. That is setting up our cohere chat endpoint (co.chat) and chat logic using Streamlit
Setting up Prompt Template and initializing session states in Streamlit.
def initialize_session_state() :

    if "chat_history" not in st.session_state:
        st.session_state.chat_history = []

        prompt = """You are a AI assistant of "Four Points Hotel" located at Kochi Infopark. You will answer any queries related to the hotel. You should always through out the conversation act accordingly. Take note that, you have been provided with documents and citations, 'documents:'. Do not speak outside this context.
            You should help customers to book rooms at the hotel. Gather all the necessary information such as name, date of check-in and check-out, number of people, type of room, and any extras they may want to add to their stay.
            Ask these questions one after another. DO NOT ASK EVERYTHING AT ONCE. Get the information one at a time.
            Finally when it is time to book, ask the customer to confirm the booking. If they say yes, then confirm the booking by displaying the booking details back to them in a formatted way. If they say no, then cancel the booking and start over.
            If you don't know the answer to any query, just say you don't know. DO NOT try to make up an answer.
            If the question is not related to the context, politely respond that you are tuned to only answer questions that are related to the context."""

        st.session_state.chat_history.append({"role": "User", "message": prompt})
        st.session_state.chat_history.append({"role": "Chatbot", "message": "Yes understood, I will act accordingly, and will be polite, short and to the point."})
We have initialized the chat_history in session_state, which can store and persistent data. Check docs to know more about session_states.
Findings
You must have noticed that I created a custom prompt, and have appended it with the chat_history as the first message, and a suitable reply with it from the chatbot.
This is to bypass the default system prompt set within the co.chat endpoint.
The format of messages used is the default format in the co.chat endpoint.
To see the chat history and the default prompt template you set these values in co.chat() along with other parameters.
            co.chat(
                return_chatlog=True,
                return_prompt=True,)
{"role": "User", "message": "user_message"}for the message from the user and{"role": "Chatbot", "message": "AI_Message'}for the message from the chatbot.Also did a little tweak to not display the prompt while initializing the chat 😉
Defining a call-back function
The function on_click_callback() is triggered when the user clicks the "Ask" button. Here's a breakdown of what it does :
def on_click_callback():
    load_css()
    customer_prompt = st.session_state.customer_prompt
Loading Styles: It starts by loading the necessary styles for our application using
load_css().User Input Handling: The function retrieves the user's input (referred to as
customer_prompt) from the chat input field. It retrieves the value which is stored in the key named 'customer_prompt'
Adding custom CSS to the chatbot in Streamlit
- Create a static folder in your directory to add CSS files and all the static things.
To load the CSS in our main.py, add the following code in main.py
# laoding styles.css
def load_css():
    with open("static/styles.css", "r")  as f:
        css = f"<style>{f.read()} </style>"
        st.markdown(css, unsafe_allow_html = True)
Cohere's RAG-Enabled Chat Endpoint.
In this code snippet, we're exploring the implementation of Cohere's RAG-enabled chat endpoint to create intelligent and context-aware chat applications.
Refer to docs on RAG Enabled Chat Endpoint by Cohere
if customer_prompt:
    # Call Cohere's chat endpoint to generate a response
    with st.spinner('Generating response...'):
        llm_response = co.chat(
            message=customer_prompt,
            documents=docs,
            model='command',
            temperature=0.5,
            chat_history=st.session_state.chat_history,
            prompt_truncation='auto'
        )
Here, the user's input is sent to Cohere's RAG chat endpoint. The function passes the following arguments to the co.chat() function:
message: The customer prompt.documents: The knowledge base documents.model: The Cohere model to use. In this case, thecommandmodel is used, which is the flagship generation model from Cohere. To know more about the Command Model, check docstemperature: The temperature parameter controls the creativity and diversity of the generated responses. A higher temperature results in more creative and diverse responses, but it also makes the responses more likely to be inaccurate or nonsensical.chat_history: The chat history. This allows the chatbot to generate responses that are consistent with the previous conversation.prompt_truncation: The prompt truncation parameter controls how much of the customer prompt is passed to the model. In this case, theautosetting is used, which means that the Cohere API will automatically truncate the prompt to the appropriate length.
Findings:
There are different generative models from cohere, check here to choose the model that fits your interest. Check here.
Cohere's RAG-enabled chat endpoint has 3 modes :
Document Mode: We can add our documents in this mode, as I have given. I have used the document mode.
Query Generation Mode: Get search queries. To enable this mode,
add
 response = co.chat(
   message = "<Add your Query>",
   search_queries_only=True,
 )
Connector Mode: This helps to connect to external sources (web search is only available as of now)
 response = co.chat(
     message = "<Add your Query>",
     connectors=[{"id": "web-search"}],
 )
To know more about RAG and different modes in
co.chatendpoint, refer to thisTo know about
co.chatspecifically, refer to this.
Note: We cannot use two modes of RAG in the same co.chat response. It should be separated (That's what I think. Had some errors due to that.).
Special Handling for Booking Confirmation (Optional )
This is just an extra feature that calls in the co.summarize endpoint of cohere, to summarize the conversation so far, by giving it chat_history.
if "confirm booking" in customer_prompt.lower():
    # Summarize the conversation and display details in the sidebar
    summary = summarizer(st.session_state.chat_history)
    st.sidebar.title("Summary")
    st.sidebar.write(summary)
- If the user's input contains "confirm booking", the code generates a summary of the conversation and displays it in the sidebar.
Add this code inside the loop:
if customer_prompt:
    with st.spinner('Generating response...'):

        llm_response = co.chat(
            message=customer_prompt,
            documents=docs,
            model='command',
            temperature=0.5,
            # return_prompt=True,
            chat_history=st.session_state.chat_history,
            prompt_truncation = 'auto',
        )

        if "confirm booking" in customer_prompt.lower():
            summary = summarizer(st.session_state.chat_history)
            st.sidebar.title("Summary")
            st.sidebar.write(summary)
The summarizer function and the formattingForSummarizer function
                def formattingForSummarizer(text):
                    for each in text :
                        if (each == "'") :
                            text = text.replace(each, "")
                        if(each == "`"):
                            text = text.replace(each, "")
                    text = text.replace('\n', ' ').replace('\r', '').replace('\t', ' ')
                    return text

                def summarizer (text):
                    CleanText = formattingForSummarizer(str(text))

                    summarizer_prompt  = "You are the manager of a hotel and you're task is to summarize the given content: that is the details of booking into the format needed for billing.. "
                    response = co.summarize(
                            text=CleanText,
                            length='long',
                            format='bullets',
                            model='summarize-xlarge',
                            additional_command= summarizer_prompt,
                            temperature=0.3,
                        )
                    return response.summary
To know more about how to use the summarization endpoint, refer to these docs.
By combining text formatting and summarization, this code segment enables the creation of clear, concise summaries, enhancing the efficiency and effectiveness of tasks such as billing in hotel management scenarios.
Updating Chat History:
st.session_state.chat_history.append({"role": "User", "message": customer_prompt})
st.session_state.chat_history.append({"role": "Chatbot", "message": llm_response.text})
Finally, the user's input and the chatbot's response are added to the
chat_history, which maintains the conversation context.This code forms the backbone of a dynamic and interactive chat application, leveraging Cohere's powerful RAG chat endpoint to create engaging user experiences.
The main function
def main():
initialize_session_state()
chat_placeholder = st.container()
prompt_placeholder = st.form("chat-form")
with chat_placeholder:
for chat in st.session_state.chat_history[2:]:
if chat["role"] == "User":
msg = chat["message"]
else:
msg = chat["message"]
div = f"""
<div class = "chatRow
{'' if chat["role"] == 'Chatbot' else 'rowReverse'}">
<img class="chatIcon" src = "app/static/{'elsa.png' if chat["role"] == 'Chatbot' else 'admin.png'}" width=32 height=32>
<div class = "chatBubble {'adminBubble' if chat["role"] == 'Chatbot' else 'humanBubble'}">​ {msg}</div>
</div>"""
st.markdown(div, unsafe_allow_html=True)
with st.form(key="chat_form"):
cols = st.columns((6, 1))
# Display the initial message if it hasn't been sent yet
if not st.session_state.initial_message_sent:
cols[0].text_input(
"Chat",
placeholder="Hello, how can I assist you?",
label_visibility="collapsed",
key="customer_prompt",
)
else:
cols[0].text_input(
"Chat",
value=st.session_state.input_value,
label_visibility="collapsed",
key="customer_prompt",
)
cols[1].form_submit_button(
"Ask",
type="secondary",
on_click=on_click_callback,
)
st.session_state.input_value = cols[0].text_input
Findings :
- Customize as per your wish
and don't forget to call the main function 😅
if __name__ == "__main__":
    main()
- This will be our main file for execution. After completing the demo, run
streamlit run main.py
Deploy your Streamlit
To deploy the Sreamlit app to the Streamlit cloud follow the documentation
To add a custom theme to your Streamlit app load, the theme into your
config.tomlfile. The theme that I used is provided below.[theme] base="light" primaryColor="purple"
Conclusion
And that's the process I followed to create the chatbot. Overall, I'm very excited about the potential of Cohere's new chat endpoint. It makes it easy to build RAG chatbots that can be used for a variety of tasks. If you're looking for a way to take your conversational AI to the next level, I highly recommend checking it out.
If you have any questions or want to explore the code further, you can visit the
GitHub repository: hotel-coChat-cohere
Check the live deployment: sheraton-bot-2
It's important to note that my approach and findings are not set in stone. There might be errors or alternative methods that I'm not aware of at the moment. Please don't hesitate to reach out if you come across any such issues or have suggestions for improvement.
I'll gladly address them
Aniz B N